How to apply a screen protector without bubbles - complete step-by-step guide. Covers prep, cleaning, alignment, the one-pull technique, and how to fix bubbles after installation.
Creslia Editorial · Evergreen How-To Guide
The complete guide - what to clean, what order to do it in, how alignment boxes work, and what to do when things go wrong. Even first-timers can get a perfect install.
To apply a screen protector without bubbles: (1) clean the screen with the wet wipe, then dry cloth, then dust sticker. (2) Use an alignment box if included - it positions the glass automatically. (3) Lower from one edge or use the one-pull tab. (4) Press from center outward. Most tiny air bubbles disappear within 24-48 hours as the adhesive cures. Dust bubbles won't - they require lifting, dust removal, and reapplication. The most common mistake is skipping the dust sticker step.
Screen protector installation has a reputation for being frustrating - the kind of task that seems simple until you're peeling off a piece of glass with a crooked alignment and a stubborn bubble in the middle of the screen. Most people who struggle have made one of a handful of entirely avoidable mistakes.
The good news: bubble-free installation is genuinely achievable for anyone, on the first attempt, with the right process. It takes about three minutes. The steps matter - not because they're complicated, but because order is everything. Do them out of sequence and you're already in bubble territory before the glass touches the screen.
This guide covers everything: preparation, the cleaning sequence, alignment, application, bubble rescue, and answers to every question people ask after the fact.
Why Bubbles Happen: The Two Root Causes
Before the steps, it helps to understand what actually causes bubbles. There are only two reasons - and knowing which one you're dealing with determines how to fix it.
Caused by applying the glass too quickly, at an angle, or without pressing from center outward. The glass lands unevenly and traps pockets of air between the adhesive and the screen.
Good news: Air bubbles without dust underneath typically self-resolve within 24-48 hours as the silicone adhesive slowly spreads and bonds to the screen surface.
A dust particle lands on the screen (or the adhesive) between cleaning and application. The glass locks over it. The dust prevents full adhesion around the particle, creating a visible bump.
Bad news: Dust bubbles will not go away on their own. They require lifting the protector, removing the dust, and reapplying. The longer you wait, the harder lifting becomes.
The entire preparation sequence exists to eliminate type 2 bubbles. The application technique eliminates type 1. Get both right and you won't have bubbles.
What You Need Before You Start

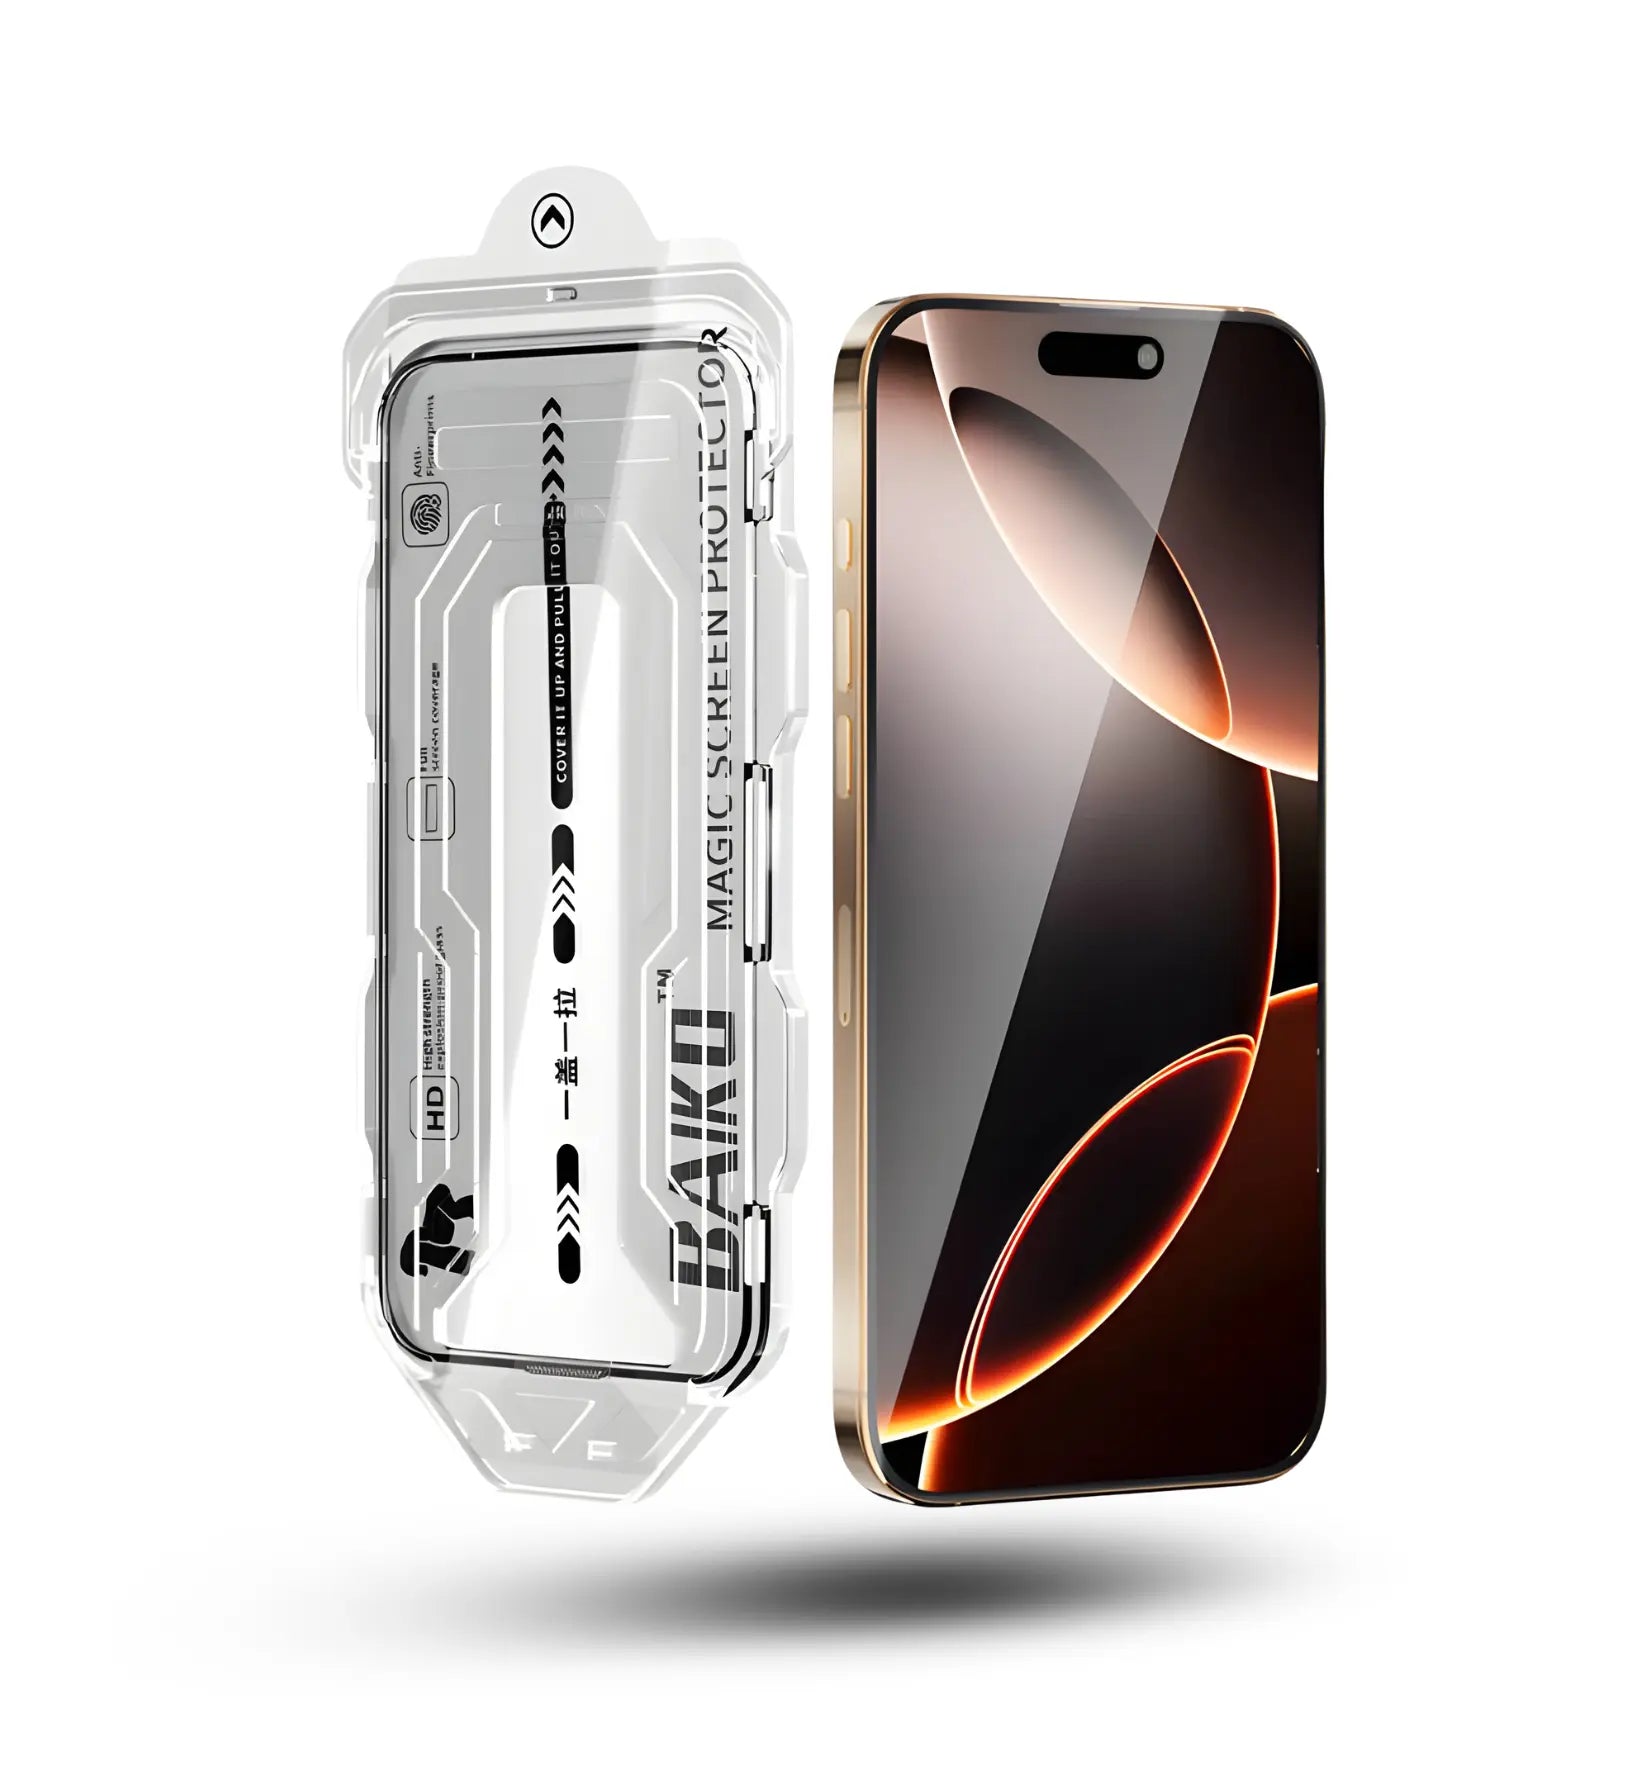
Creslia's screen protector kit - wet wipe, dry microfiber cloth, dust stickers, and the magic alignment cabin. Everything needed for a first-try bubble-free install.
Step-by-Step: The Complete Installation Process
Without alignment box (manual method): Peel the backing film. Align the speaker cutout at the top of the phone, holding the glass 2-3mm above the screen. Line up one long edge first, then slowly lower the opposite edge. The glass will draw itself down via the adhesive once the first contact is made.
The single most impactful change most people can make: do the dust sticker step twice. Use the sticker, check under a low-angle light, do a second pass on any spots that still catch light. The few extra seconds this takes eliminate the most common source of permanent bubbles. The wet wipe and dry cloth are visible steps - people do them carefully. The dust sticker feels minor and gets rushed. It isn't.
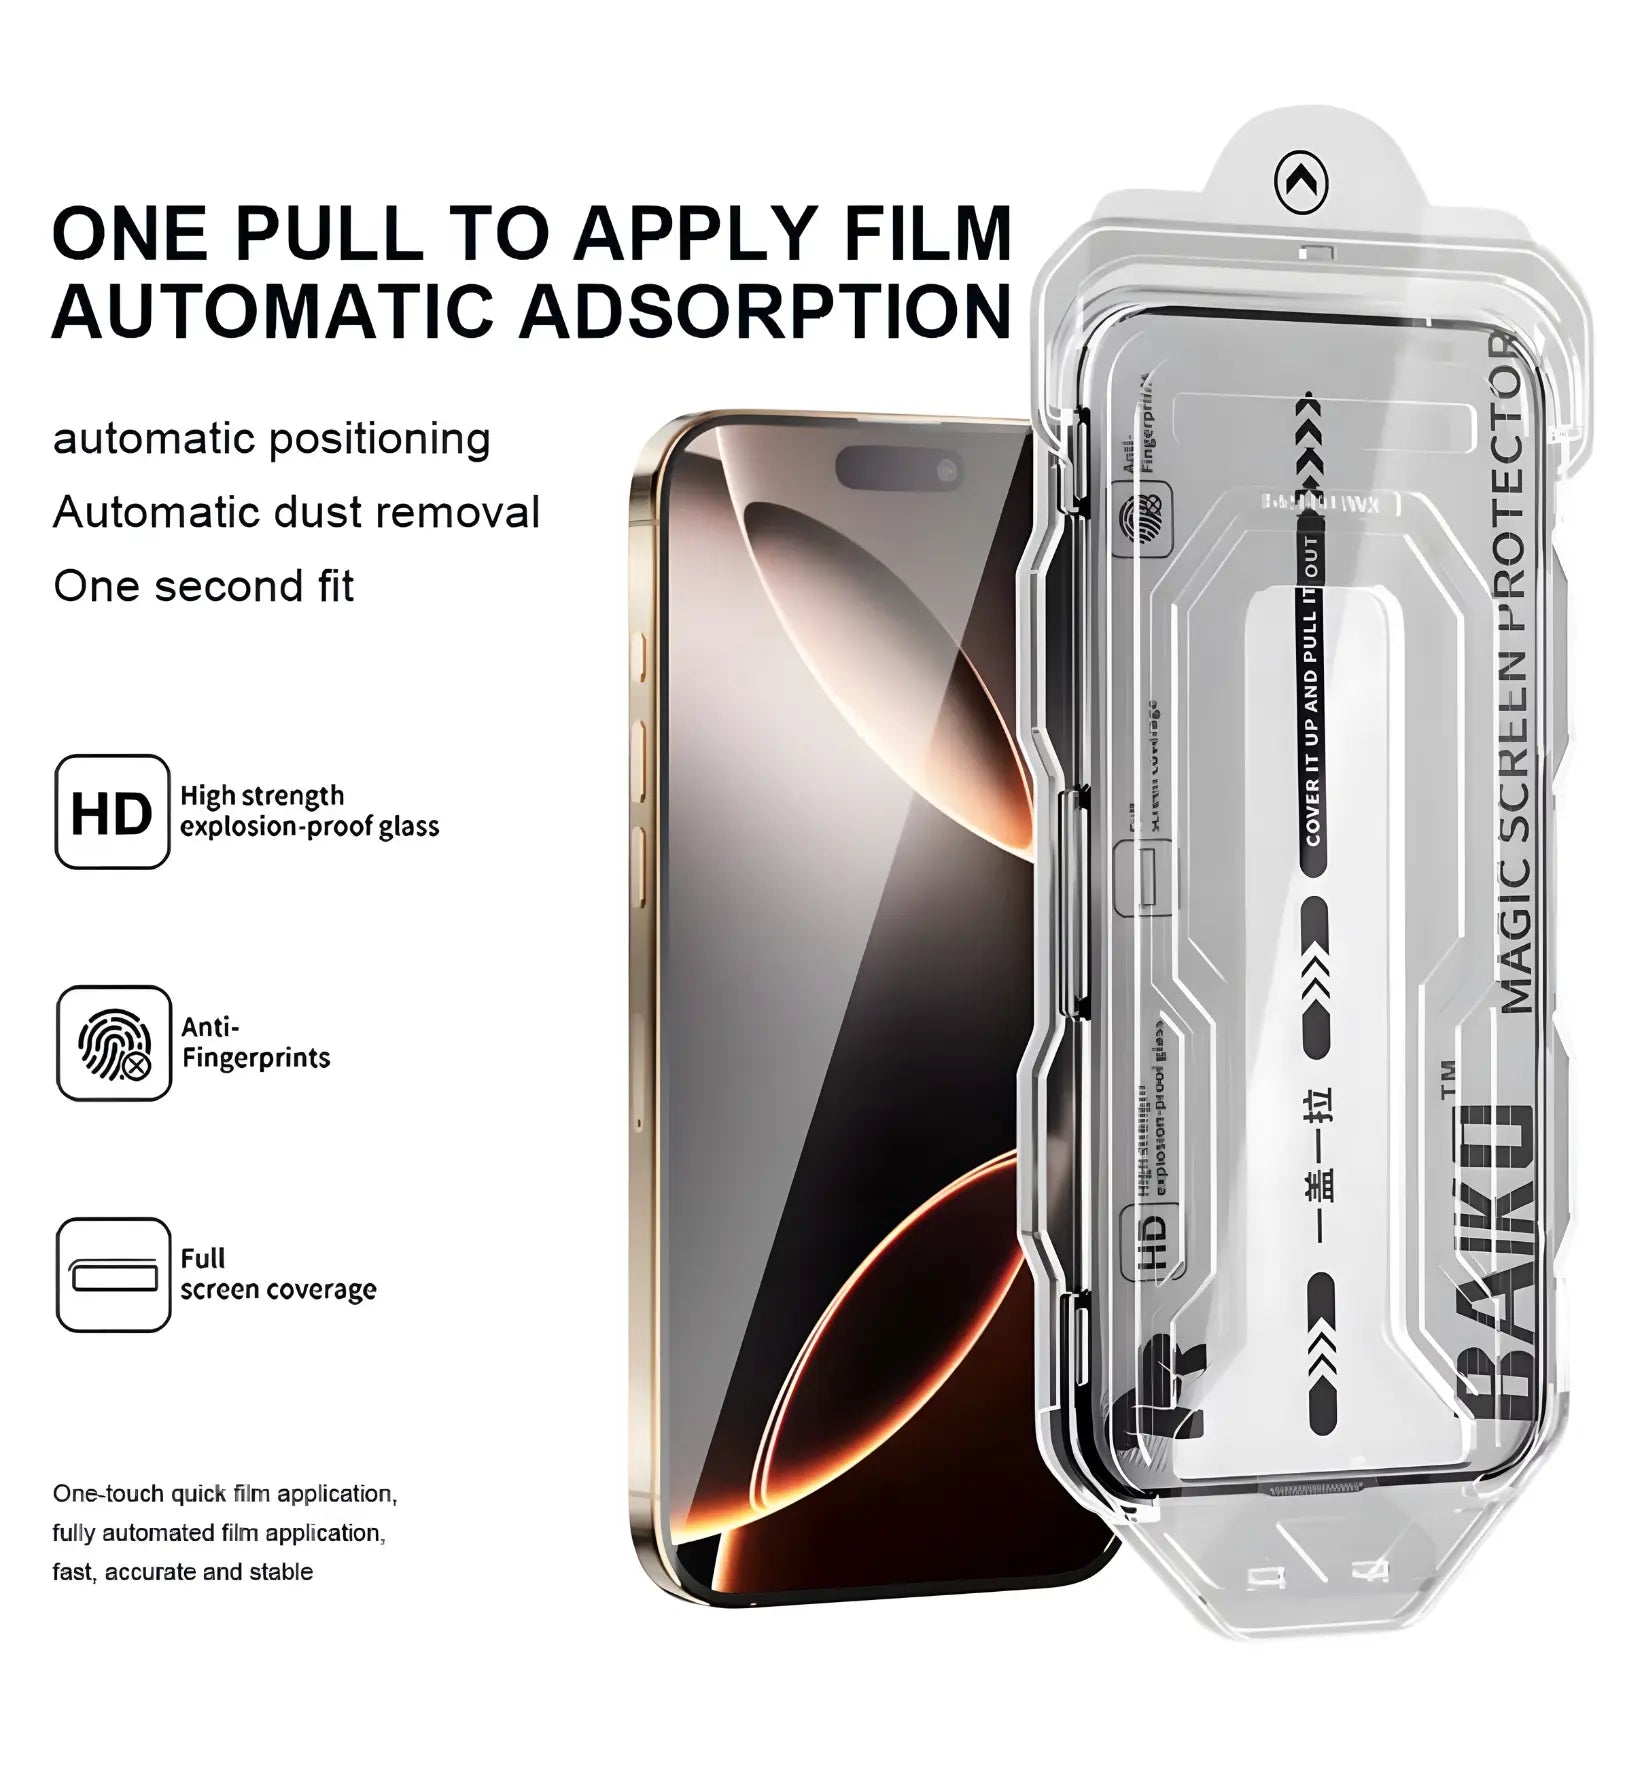
Creslia's dust-free alignment cabin creates a sealed environment around the screen protector during application - significantly reducing the chance of dust landing on the adhesive between cleaning and installation.
Why the Alignment Box Changes Everything
For years, screen protector installation required a steady hand, good eyesight, and a willingness to peel and restart when the alignment was off by two millimeters. The alignment box changes that equation entirely.
The logic is simple: the box uses the phone's physical edges as guides. The frame seats itself in a fixed position relative to the phone, and the glass inside the box is pre-positioned to match. There's nothing to measure, nothing to judge by eye. You place the box, pull the tab, done.
What it specifically eliminates: the tilted protector (diagonal misalignment), the speaker cutout being too high or low, the Dynamic Island opening being offset, and the main camera cutout being positioned wrong. Every alignment error that comes from trying to place glass by hand is removed from the equation.
"The alignment box is the single biggest improvement in screen protector technology in the last five years. It turns a skill-dependent task into a process anyone can do correctly the first time."

⭐ The Bubble-Free Choice - Creslia's Pick
Automatic Dust-Free Tempered Glass Screen Protector with Magic Alignment Box
$14.99 HD Clear · $19.99 Privacy
The magic alignment cabin positions the glass automatically using the phone's edge profile - one pull, zero guesswork. Dust-free sealed cabin reduces particle contamination during installation. 0.33mm 3D glass, 9H hardness, oleophobic anti-fingerprint coating. HD Clear and Privacy variants. Includes full cleaning kit. Available for iPhone 13-17 Pro Max.
Rescue Guide: Fixing Bubbles After Installation
Installation wasn't perfect. That's okay - here's how to diagnose and fix what you're seeing.
How to Identify Which Type of Bubble You Have
Press gently on the bubble. If it moves or changes shape when you press, it's an air bubble - no dust underneath. If it stays fixed regardless of pressure, there's dust under it. The fix is different for each.
Option 1 (wait): If the bubble is small (under 5mm), place the phone face-down on a flat surface under gentle pressure for 24-48 hours. Most air bubbles self-resolve completely.
Option 2 (press): Using a clean fingertip, press firmly at the far edge of the bubble and slowly push toward the nearest screen edge. Work the bubble like toothpaste toward the edge.
Option 3 (heat): Very mild warmth from a hair dryer on low setting (5-10 seconds, 15cm away) softens the adhesive temporarily, making it easier to press out remaining air.
Step 1: Work quickly - the longer you wait, the harder lifting becomes as the adhesive cures.
Step 2: Use a piece of tape or a thin card to gently lift one corner of the protector. Lift slowly, keeping the glass flat to avoid creasing.
Step 3: Use the dust sticker to remove the particle from the screen surface. Check at a low angle under light - confirm it's gone.
Step 4: Re-lay the protector from the lifted edge. Press from center outward again.
The 5 Most Common Screen Protector Mistakes

Creslia's oleophobic anti-fingerprint coating keeps the screen clean post-install - oils and smudges wipe off cleanly with a microfiber cloth.
Don't Forget the Camera Lens
Screen protection gets most of the attention. Camera lens protection gets almost none - until someone discovers a scratched lens after setting their phone on a textured surface, keys in a bag, or a rough desk.
The camera glass on modern iPhones (especially Pro and Pro Max models with their raised lens islands) is more exposed than the screen in daily carry. It doesn't have a case bezel protecting it the same way the screen does. Creslia's camera lens protectors start at $9.99 and install the same way - clean, align, press.
Worth doing at the same time as the screen protector. Same cleaning kit, same process, same session.
Frequently Asked Questions
How do you apply a screen protector without bubbles?
Clean with wet wipe → wait 20-30 seconds → dry cloth → dust sticker (the most important step). Then use an alignment box if available, or lower from one aligned edge. Press from center outward. Most air bubbles self-resolve in 24-48 hours. Dust bubbles require lifting and reapplication. See Creslia's automatic alignment screen protector for the easiest bubble-free install method.
Can you remove bubbles from a screen protector after applying it?
Yes - with different methods depending on the type. Air bubbles (no dust): press from the bubble toward the nearest edge, or wait 24-48 hours. Dust bubbles (fixed, don't move when pressed): lift the corner of the protector with tape, remove the dust particle with a sticker, and reapply. Act quickly - the adhesive cures over time, making lifting harder.
Do you need to turn off your phone before applying a screen protector?
Recommended but not strictly required. Powering off makes the black screen act as a better background for spotting dust particles during the cleaning phase. It also prevents accidental inputs during installation. Takes 10 seconds and removes one variable from the process.
Why does my screen protector have bubbles even after pressing?
If the bubbles remain after pressing and don't move when touched, they contain dust particles - not air. The fix is to lift the protector, remove the dust with a sticker, and reapply. If the bubbles move or disappear when pressed, they're air and will likely self-resolve within 24-48 hours.
How long until screen protector bubbles go away?
Air bubbles (no dust underneath) typically disappear within 24-48 hours as the silicone adhesive cures and spreads. Dust bubbles will not go away - they require mechanical intervention (lifting, dust removal, reapplication). If a bubble is still present after 48 hours, it contains dust.
What is a magic alignment box for screen protectors?
An alignment box (magic installer) is a plastic frame that uses the phone's edge profile to position the screen protector automatically - eliminating the need to align the cutouts by hand. You place the box on the phone, pull the tab, and the glass drops into perfect position. Creslia's Automatic Dust-Free Tempered Glass includes a magic alignment cabin with every unit.
Does a screen protector affect Face ID or touch sensitivity?
No - quality 0.33mm tempered glass screen protectors don't affect Face ID, gestures, or touch sensitivity when correctly applied. Creslia's screen protector is specifically 0.33mm to maintain full Face ID, Touch ID, and multi-touch responsiveness. A misaligned or thick protector can sometimes block sensors - which is why alignment matters.
Should I apply my screen protector in the bathroom with steam?
The bathroom-steam method aims to make dust particles heavier and less likely to float in the air. It can marginally help in very dusty environments. However, the real fix is thorough cleaning, the dust sticker step, and working quickly. The steam creates moisture that can interfere with the adhesive if you're not careful. A clean, closed, still room is a better environment than a steamy bathroom.
Can I reuse a screen protector if I need to reapply it?
Yes, tempered glass screen protectors can be removed and reapplied a limited number of times if the adhesive is undamaged. Lift carefully from a corner, avoid touching the adhesive, remove dust with the sticker, and re-lay. After 2-3 removals, the adhesive weakens and full adhesion may not be achievable.
The Bottom Line
A bubble-free screen protector install isn't luck - it's a process. Clean in the right order, use the dust sticker every time, work in a still room, and apply from center outward. Those four things eliminate 95% of installation failures.
The remaining 5% is alignment - and if you use a magic alignment box, that's eliminated too. Creslia's Automatic Dust-Free Tempered Glass includes both the sealed dust cabin and the one-pull alignment box. It's designed so that a first-timer following the kit instructions gets the same result as someone who's installed fifty screen protectors.
If bubbles do appear: check if they move under pressure. Air bubbles - wait. Dust bubbles - lift, remove, reapply. Either way, there's a solution.