How-To · Apple Watch
How to change your Apple Watch band in about 60 seconds: hold the release button, slide the band out sideways, then slide the new one in until it clicks.

Learning how to change your Apple Watch band is genuinely a 60-second skill, and once you've done it once you'll never hesitate again. Apple designed the band system to be swapped constantly: a simple slide-and-lock connector with a release button, identical on every Apple Watch since 2015. There are no tools, no screws and no risk to the watch when you do it right. Here's the exact method, step by step, plus how to make sure your new band fits and what to do if a stubborn band won't budge.
To change an Apple Watch band: hold the band-release button on the back of the watch, slide the band out sideways across its channel, then slide the new band in until it clicks. Do it on a soft surface and tug-test each half before wearing. Total time: about 60 seconds.
That's the whole idea in one breath. Below, we'll walk through each step slowly so it's foolproof the first time, then cover which bands fit your watch, how to troubleshoot a band that won't release or click in, and why building a small band rotation is one of the easiest upgrades you can make. (Quick note: Creslia is an independent brand and isn't affiliated with or endorsed by Apple.)
How to Change Your Apple Watch Band: Step by Step
Follow these seven steps in order. They mirror Apple's official method and work the same on every model, from an older Series 4 to a Series 11 or an Ultra.
-
Place the watch face down on a soft surface
Set the Apple Watch face down on a soft, clean surface such as a lint-free microfiber cloth or a padded mat. This protects the screen from scratches while you work and keeps the watch steady.
-
Find the two band-release buttons
Look at the back of the case for the two band-release buttons - one near the top lug and one near the bottom. Each band half sits in its own channel and has its own release button.
-
Press and hold a release button, then slide the band out sideways
Press and hold one band-release button, then slide that band half sideways across the channel and out. It slides across, not straight out - do not pull or force it.
-
If it won't slide, hold the button down fully and try again
If the band does not move, press the release button again and make sure you are holding it down fully while you slide. Some snug third-party bands need a firmer, steady sideways slide.
-
Repeat for the other band half
Do the same on the other side: hold its release button and slide the second band half out of its channel. Your watch case is now bare and ready for the new band.
-
Slide the new band in until it clicks
Slide each half of the new band into the channel in the same direction the old one came out, until you feel or hear a click and it locks. Mind orientation - bands are directional, so one half is meant for the top lug and the other for the bottom.
-
Tug-test each half before wearing
Gently tug each band half to confirm it is fully locked before putting the watch on. If a half shifts or slides, press the release and reseat it until it clicks securely.
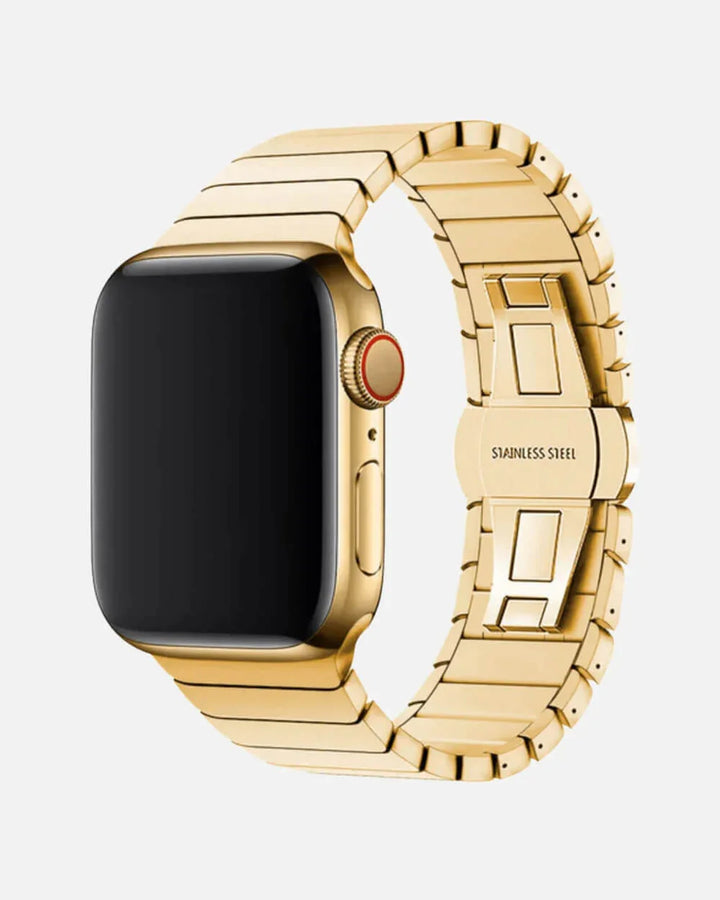
A stainless steel link bracelet attaches the same slide-and-lock way, but to shorten or separate one, press the small quick-release button on a link to split the bracelet into pieces and remove links until it fits your wrist.
It slides sideways, not straight out - that one detail is the whole trick to changing an Apple Watch band.
Before You Start: 30 Seconds of Prep
You don't need much to change a band, but two small bits of prep make the whole thing smoother and safer for your watch. First, find a soft, clean surface to work on - a microfiber cloth, a folded hand towel or a padded mat all work. The point is to set the watch face down without risking a scratch on the display, and to give yourself a stable spot so the watch doesn't skate around while you press the release buttons.
Second, have your new band within reach and take a quick look at it before you remove the old one. Apple Watch bands are directional: the two halves aren't identical, and each is designed to go into a specific lug - typically the half with the buckle, pin or longer section at one end. Glancing at which half is which now saves you from sliding a half in upside down later and wondering why it won't sit right. That's genuinely the most common hiccup people hit, and ten seconds of looking prevents it entirely.
One reassuring note before you begin: you are not going to break anything. The band channel and release mechanism are engineered for frequent swapping, so this is a routine, low-stakes task. As long as you slide by hand and never pry with a tool, the watch and the bands will be perfectly fine even after dozens of changes.
Which Band Fits Your Apple Watch?
Before you buy a new band, make sure it matches your watch - and the rule is refreshingly simple. Apple Watch bands fit by case size, not by series, and the sizes fall into two interchangeable groups. Find the case size on the back of your watch and match the group.
| Group | Case sizes that share bands |
|---|---|
| Smaller | 38mm, 40mm, 41mm, 42mm (Series 10/11) |
| Larger | 42mm (older), 44mm, 45mm, 46mm (Series 10/11), 49mm (Ultra) |
Because the connector mechanism is identical across every Apple Watch generation, any band in your size group will click in exactly the same way - including third-party bands. A band bought for a 46mm Series 10 fits a 46mm Series 11; a 49mm Ultra band fits any Ultra. The series number is irrelevant to fit. If you want the full breakdown of styles and sizes, our Apple Watch bands guide covers every option.
Troubleshooting: When a Band Won't Cooperate
If something feels stuck, it's almost always one of a few easy-to-fix things. Work through these before assuming anything is wrong with the watch or the band.
- Band won't release? You're likely pulling straight out. Hold the release button down fully and slide the band across the channel sideways, then try once more with steady pressure.
- New band won't click in? Usually it's the wrong size group, the wrong half, or the wrong direction. Flip the half, realign it with the channel, and slide until it locks with a click.
- Don't force or pry. The band moves by hand - never use a tool, knife or pin to lever it, which can scratch the case or damage the channel.
- Always tug-test. Before wearing, give each half a gentle pull so a loose band doesn't pop off and drop the watch later.
A brand-new or very snug third-party band can be tight the first time. Keep the release button fully depressed and apply firm, steady sideways pressure - not a sharp yank. If a band is genuinely the wrong size group, it won't seat no matter what, so double-check your case size first.
It's also worth knowing that the very first swap is usually the hardest, because both the band and your confidence are new. After you've removed and reattached a band once or twice, the motion becomes muscle memory and the 60-second estimate starts to feel generous. If you've never done it, give yourself a calm minute the first time rather than rushing - and if a particular band consistently fights you, it's almost always a sign it's slightly out of spec for the channel, not that you're doing anything wrong.
Why Swap Bands at All?
Once changing a band takes under a minute, it stops being a chore and becomes part of getting dressed. The same watch can read as professional, sporty or casual depending on what's on your wrist - a stainless steel band for the office, a silicone band for the gym, a nylon band for the weekend. Swapping by activity is also genuinely more comfortable: a sweat-friendly silicone band for a workout, then something dressier afterward.
There's no wear-and-tear reason to limit how often you switch, either. The connector is engineered for repeated swaps, so changing your band daily does no harm. Many people keep two or three bands in rotation and change them as casually as they'd change a watch face - it's the cheapest way to make the watch feel new without buying anything new.
Swapping also has a quiet hygiene benefit worth mentioning. Wearing the same band every single day means sweat, lotion and skin oils build up on one strap continuously. Rotating between a couple of bands gives each one time to air out and be wiped down between wears, which keeps them fresher and more comfortable against your skin - especially helpful if you alternate between workouts and everyday wear. In other words, a rotation isn't just about style; it's a little easier on your wrist, too.
Build a Quick Band Rotation
Now that the swap is a 60-second move, a small collection of bands gives you a different watch for every occasion. Creslia's Watch Accessories collection spans the core styles, and they all fit by case size and ship same day on orders before 3 PM ET from New Jersey, with free shipping over $49.90 and 7-day returns.

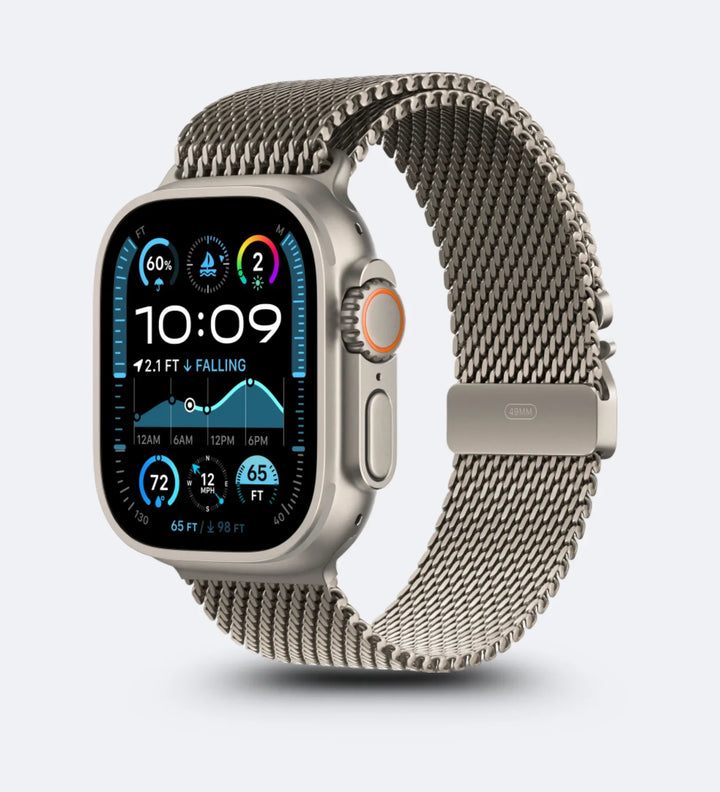
A practical starter rotation is a silicone band for active days, a stainless steel mesh band for dressed-up occasions, and a nylon band for the outdoors - three looks that cover almost any situation. If you want help deciding between materials, our stainless steel vs silicone comparison breaks down which suits which moment.
Because every Creslia band uses the same standard connector, anything you add to your rotation installs with the exact 60-second method above - there's nothing special to learn per band. Pick your case size once, and from then on building out a collection is purely about choosing colors and styles you like best.

One watch, a wardrobe of looks
Now that swapping takes 60 seconds, build a rotation. Silicone, mesh, braided and nylon bands that fit by case size. Free shipping over $49.90, same-day dispatch before 3 PM ET.
Shop Apple Watch bands →Frequently Asked Questions
How do you change an Apple Watch band?
Hold the band-release button on the back of the watch, slide the band out sideways across its channel, then slide the new band in until it clicks and locks. Place the watch face down on a soft surface first to protect the screen, and tug-test each half before wearing. The whole swap takes about 60 seconds.
Where is the Apple Watch band release button?
There are two band-release buttons on the back of the Apple Watch case - one near the top lug and one near the bottom. Each band half has its own button and channel, so you press the button nearest the half you want to remove.
Why won't my Apple Watch band come off?
Almost always it's because the band is being pulled straight out instead of slid sideways. Press and hold the release button down fully, then slide the band across the channel - it moves sideways, not outward. Some snug third-party bands need a firmer, steady slide, but never force or pry with a tool.
How do I know which band size fits my Apple Watch?
Check the case size printed on the back of your watch and match the group. The smaller group covers 38, 40, 41 and 42mm watches; the larger group covers older 42mm and 44, 45, 46 and 49mm watches. Bands fit by case size, not by series, so any band in your group will fit.
Can I use any brand of band on my Apple Watch?
Yes. Third-party bands use the same slide-and-lock connector Apple has used since 2015, so they attach exactly the same way. Just match your size group - the smaller 38 to 42mm group or the larger 42 to 49mm group - and the band will click into place like any official band.
Will I damage my watch changing the band?
No, not if you do it correctly. Place the watch face down on a soft surface, slide the band by hand, and never force or pry it with a tool. The connector is designed for repeated swaps, so changing bands as often as you like won't harm the watch when you slide gently and tug-test afterward.
The Bottom Line
Changing an Apple Watch band really is a 60-second job once you know the one trick: hold the release button and slide the band sideways, not straight out. Work on a soft surface, mind the band's orientation when you slide the new one in, listen for the click, and tug-test before you wear it. Match your replacement to your case size - the smaller 38 to 42mm group or the larger 42 to 49mm group - and any band, including third-party ones, will fit the same way. With the swap this easy and this safe for the watch, there's no reason to wear the same band every day. Build a small rotation and let one watch cover every part of your week.
And if you ever forget the method, just remember the single rule that makes it all work: press, slide sideways, and listen for the click. Everything else is detail.
Further reading
Why trust Creslia
- 2,000+ products tested in our Iselin, NJ QA lab since 2024.
- 200+ device models supported - iPhone, Samsung, Pixel, OnePlus, Google.
- Same-day shipping on orders placed before 3 PM ET, six days a week.
- Reviewed under MIL-STD-810G drop methodology for our rugged lines.